Nuloom Outdoor Rugs
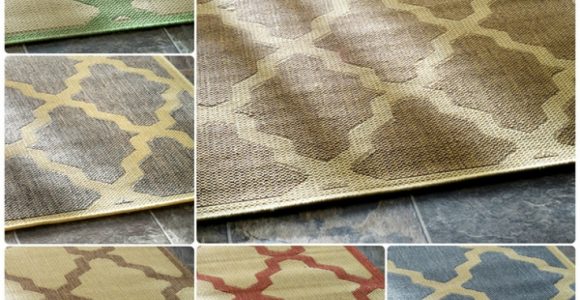



Nuloom Outdoor Rugs with pictures released for to offer the concepts to influence enhancing your home. This post of Nuloom Outdoor Rugs have of our collection pictures as well as gallery for embe...
Nuloom Outdoor Rugs with pictures released for to offer the concepts to influence enhancing your home. This post of Nuloom Outdoor Rugs have of our collection pictures as well as gallery for embe...
A pergola can turn an ordinary timber deck into a more useful outdoor room, providing shade for weekend lunches, shelter for outdoor furniture and a strong architectural link between the house and garden. Attaching the structure to an existing deck, however, calls for more care than simply fixing posts to the visible boards.
The deck must be strong enough to receive new loads, the pergola needs to resist wind uplift, and every connection should remain accessible for inspection. In Australia, intense sun, coastal moisture, termites, bushfire requirements and local council rules can all influence the design. Careful preparation will produce a safer, longer-lasting addition.
Begin by inspecting the deck from above and below. Look for soft boards, rusted screws, cracked joists, movement at the ledger connection and posts that no longer sit firmly on their footings. A pergola transfers vertical weight and sideways wind forces into the deck structure, so sound-looking decking boards alone are not enough.
Lift a few boards around the proposed post locations if necessary. Identify the direction and size of the joists, the position of bearers and the type of footings supporting them. If the deck is raised, inspect the underside for rot, termite activity and water collecting around posts. Homes in Queensland, northern New South Wales and tropical Western Australia may also need extra attention to cyclone-related wind loads.
Map the sun at different times of the day before deciding where to place the roof or shade cloth. A western-facing pergola can become very hot in the afternoon, while a northern orientation may provide useful winter sun in southern states. Allow room for doors, windows, gutters, garden beds and future maintenance access.
Australian building requirements vary between councils and states. A small open pergola may fall within exempt or complying development rules, while a larger roofed structure, enclosed patio or pergola close to a boundary may require approval. Check with the local council or a registered building professional before purchasing materials. The rules in a suburban Melbourne block will not necessarily match those in a coastal Sydney property or a bushfire-prone area near Adelaide.
Wind classification is especially important. An exposed coastal site, elevated deck or property in a cyclone region can require engineered connections, deeper footings and stronger beams. Bushfire-prone areas may also have additional requirements for materials, ember protection and roof design. A licensed builder, engineer or building surveyor can calculate the required post sizes, beam spans and fixings.
Never rely on decking screws to carry the structure. The pergola posts should connect to structural framing or independent footings designed for the load. If the existing deck cannot safely support the addition, the practical solution may be to install new posts beside the deck and connect the overhead frame without loading the decking itself.
Pressure-treated structural timber is a familiar choice for Australian pergolas because it is widely available and easy to cut. Select timber rated for its intended exposure, and use compatible hot-dip galvanised or stainless-steel hardware. In coastal locations, stainless steel is often worth the extra cost because salt air quickly accelerates corrosion.
Hardwood can deliver a rich appearance, while aluminium and steel create a slimmer contemporary profile. Powder-coated aluminium is low-maintenance and performs well in many residential settings, although the connection system must still be engineered for wind. For inspiration on combining a restrained metal frame with outdoor furniture, this profile of a minimalist steel designer offers useful ideas about proportion and material contrast.
Choose a finish that suits the house rather than treating the pergola as an isolated feature. Natural timber complements brick and weatherboard homes, black or charcoal coatings suit modern façades, and pale finishes can reduce heat absorption. Keep the roof light if the deck is elevated, since heavy tiles or masonry-style coverings can create substantial additional loads.
Mark each post position with a chalk line and check the layout from several viewpoints. Measure diagonals to confirm that the plan is square, then use a level to transfer the positions accurately from the deck surface to the structural framing beneath. Posts should sit in a straight line and have enough clearance from walls, gutters and balustrades.
For a deck-mounted design, use engineered post bases or brackets that keep timber slightly above areas where water may collect. Avoid burying untreated ends or trapping timber against the deck boards. Where new concrete footings are needed, check for underground services before excavation and allow the concrete to cure according to the product instructions.
Use a fixing method suited to the timber, location and expected wind forces:
Once the posts are fixed, brace them temporarily in two directions. This prevents movement while beams are lifted into position and keeps the frame stable during construction. Do not climb onto an incomplete structure or leave tall unbraced posts exposed before the next stage is secured.
Install the main beams according to the engineered span and connection details. Depending on the design, beams may sit on top of the posts, between them or on galvanised stirrups. Through-bolts and proprietary structural screws should be installed exactly as specified, with edge distances that prevent timber splitting.
Rafters can be spaced closely for a more solid ceiling or further apart for a light, open look. If the pergola will carry polycarbonate sheets, a retractable roof or climbing plants, account for that additional weight at the planning stage. A roof that appears visually lightweight may still catch wind like a sail.
The following comparison helps match the overhead treatment to the way the deck is used:
| Roof or shade option | Strengths | Points to consider |
|---|---|---|
| Open rafters | Affordable, airy and easy to build | Offers limited rain protection and may need privacy screening |
| Shade cloth | Reduces glare and UV exposure | Requires suitable tensioning and removal in severe weather |
| Retractable canopy | Flexible control over sun and shade | Costs more and needs regular cleaning |
| Polycarbonate sheets | Provides useful rain cover and diffused light | Can increase heat and wind loads |
| Insulated roof panels | Better thermal comfort and weather protection | Usually needs stronger framing and professional detailing |
Water management deserves attention even on a partly open pergola. Direct rainwater away from doors and high-traffic areas, and avoid allowing runoff to discharge onto the deck boards. Gutters and downpipes may be needed for a solid roof. Ensure the design does not block existing house drainage or create damp pockets against the wall.
A pergola becomes more useful when shade, lighting and furniture are planned together. Choose outdoor-rated fittings, protect electrical work with a licensed electrician and keep cables away from sharp brackets or wet areas. Ceiling fans can improve comfort in hot climates, but their weight and vibration should be included in the structural design.
Climbing plants add softness, although vigorous species can become surprisingly heavy. Wisteria, grapevines and dense evergreen growth may load rafters, hold moisture against timber and require frequent pruning. Use a separate trellis or lightweight screening if the deck framing has limited capacity.
These details can improve everyday use without complicating the main structure:
The surface around the pergola also affects how finished the space feels. If you are extending the entertaining zone beyond the deck, a well-laid paved area can create a durable transition to the garden. This guide to herringbone paving is relevant when choosing a pattern that adds visual movement beneath or beside the timber structure.
Before applying stain or paint, allow new treated timber to dry as recommended by the supplier. Lightly sand rough areas, clean away dust and coat all exposed faces, especially cut ends and joints. Recoat according to the product instructions; a pergola exposed to full Australian sun will usually need more frequent maintenance than one shaded by the house.
Inspect the structure at least twice a year and after severe storms. Look for loose bolts, splitting timber, rust marks, movement at post bases, blocked gutters and sagging shade fabric. Coastal owners may need to rinse salt deposits from metalwork, while properties in termite-prone regions should maintain clear inspection zones around the deck and footings.
Think about fire safety as part of the finish. Do not store firewood, cardboard or dry garden waste beneath the pergola, and keep barbecues away from timber walls, curtains and climbing plants. In bushfire areas, follow the applicable Bushfire Attack Level requirements rather than relying on a decorative roof or screening product.
With the frame secured, the deck protected and the details matched to the local climate, an existing timber platform can become a comfortable outdoor room with genuine architectural presence. For further ideas on furniture, materials and residential upgrades, explore French Creative Connection. Arrange the required inspections, use certified trades for structural or electrical work, and begin with a measured plan so the finished pergola is safe, durable and ready for many Australian seasons.
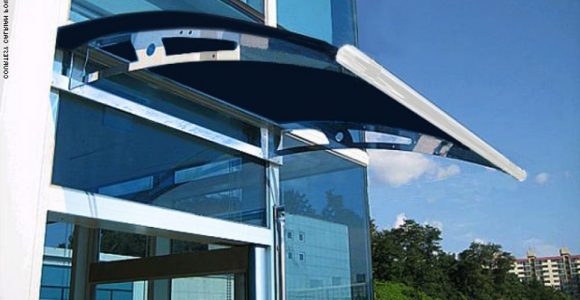
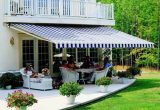
Awning definition, What is an awning? An awning is a cover made from canvas to sanctuary individuals or things from rain or sunlight, usually one will certainly use words awning about a roof-l...
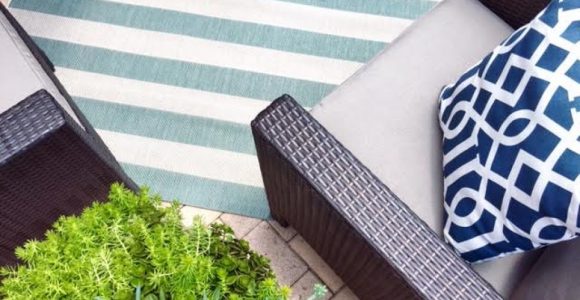


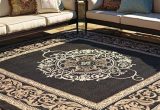
Frontgate outdoor rugs. These days embellishing does not have to be regarding custom-made, it could be regarding where to discover it currently and also exactly how to make it function for you. T...

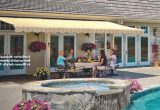
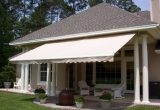


Retractable awning prices is influenced in various other means, too. On-line assemblers bill delivery costs, however this is more than balanced out by the reality they don't charge sales tax (bes...

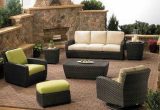

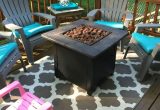
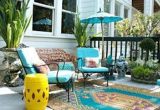
bed bath and beyond outdoor rugs (additionally called location rugs) not just include to the appearance of a space, yet likewise develop a setting including form, shade, and structure. Residence ...