Nuloom Outdoor Rugs
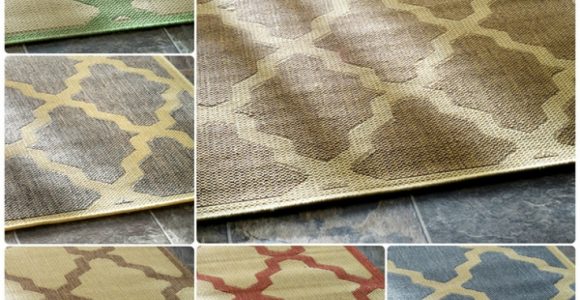



Nuloom Outdoor Rugs with pictures released for to offer the concepts to influence enhancing your home. This post of Nuloom Outdoor Rugs have of our collection pictures as well as gallery for embe...
Nuloom Outdoor Rugs with pictures released for to offer the concepts to influence enhancing your home. This post of Nuloom Outdoor Rugs have of our collection pictures as well as gallery for embe...
Knowing how to seal a brick paver patio to prevent weed growth starts with one truth: weeds usually arrive through open joints rather than pushing up through solid brick. Seeds settle in sandy paving gaps, rain or irrigation supplies moisture, and roots exploit tiny movements beneath the surface. A quality masonry sealer can reduce staining, water penetration and surface breakdown, but it cannot act as an underground root barrier.
That distinction matters in Australia, where a patio may face relentless summer sun, brief but heavy rain and pollen carried on the wind. Sealing supports good joint maintenance; it does not replace weed removal, sound joint filling or a membrane installed during construction. Used together, these measures create cleaner edges, easier maintenance and a more even finish for years.
Brick pavers move fractionally as the ground warms, cools and settles. The joints absorb that movement, yet fine sand can wash or brush away, leaving a protected slot where weed seed can germinate. Couch and clover are common troublemakers in Aussie gardens, while some roots travel along the paver edge instead of rising through the middle. This is why a surface-only treatment can disappoint.
A penetrating sealer leaves most of the brick’s natural texture and colour intact while making the surface less porous. It can slow the entry of water and dirt, make moss and algae less likely and help the paver resist further breakdown. A film-forming sealer creates a continuous surface layer, but it may give the patio a glossy or “wet” appearance and require extra care around slippery areas. Neither type should be assumed to stop weeds by itself.
Think about the whole outdoor composition before changing the finish. If the hardscape is being paired with new planting, furniture or lighting, these gallery styling ideas can help you assess whether a matte, satin or enhanced-colour result will look at home in the wider space.
Start with dry weather and a clear plan. Photograph the layout, mark loose or damaged pavers and note any low spots where water collects. Pull small weeds while their roots are shallow, removing larger growth carefully so the surrounding joint sand is not scraped out. Do not seal over a mat of roots, because decomposition beneath the surface can leave an uneven patch and the weeds may return.
Wash the pavers with a cleaner suitable for their colour and finish, then rinse gently. Avoid acidic cleaners unless the manufacturer specifically approves them, as they can etch some bricks and coloured mortar. Pressure washing can also erode joint sand or drive moisture into the bedding, so a controlled wash with a sponge or brush is usually safer.
Allow the patio to dry thoroughly before sealing; 24 to 48 hours may be needed, depending on the weather and product. Replace cracked pavers, reset loose units and refill empty joints with dry jointing sand. Polymeric sand can create a firmer joint when installed as directed, but it still needs adequate curing and careful watering. A weed membrane is effective only when installed beneath the pavers during construction or rebuilding, not painted over the surface later.
Brick pavers vary in porosity, glaze and colour, so select a product labelled for masonry or brick rather than relying on generic patio-seal wording. Check the coverage rate, curing time, rain exposure and whether the finish will deepen the colour. Always complete a small test patch before treating the entire area.
Penetrating sealers are generally the most natural-looking choice for traditional clay brick. Film-forming products can make colour appear richer, but an uneven application may produce patches and glare. Water-based coatings are easier to clean up, while solvent-based products often demand stronger ventilation and careful handling. Weed-inhibited sand is useful only if its label permits the specific installation and provides clear directions for keeping the product away from drains, pets and waterways.
Local weather deserves attention. Melbourne can move from spring drizzle to hard summer UV within a week, Sydney’s coastal air carries salt, Brisbane can deliver a summer downpour soon after application, and Perth’s long, dry summers place constant stress on surfaces. A UV-stable product with strong water resistance is more useful there than one chosen solely for its low price.
Australian home-improvement stores such as Bunnings, Home Depot and Mitre 10 commonly stock sealers in litre containers and pavers by the square metre. Compare the stated coverage rate rather than judging by container size, and check the technical data sheet and safety data sheet before buying. A little planning prevents buying too much product or choosing one that is incompatible with your brick.
Read the instructions before opening the tin. Choose a period with temperatures within the manufacturer’s recommended range, no strong wind and enough rain-free, dew-free curing time, often 24 to 48 hours. Dry conditions are especially important because a sudden shower can lift fresh sealer from the brick. Work early in the morning or later in the afternoon when the surface is cooler, rather than applying it in intense midday heat.
Protect nearby sandstone, timber, metalwork, painted surfaces, planters and outdoor appliances. Mask clean edges with low-tack tape, cover surrounding landscaping and stir the sealer slowly to avoid trapped bubbles. Keep children and pets away while the product is wet, and wear the protective equipment stated on the label.
Apply a thin, even coat with the recommended lambswool applicator, foam roller or masonry brush. Work from one side of the patio to the other, keeping a wet edge and avoiding excessive pressure. Remove any pooling, since thick patches can dry unevenly. A second coat is often needed for porous brick, but add it only within the stated interval and follow the coverage guidance for each coat.
Keep flames and sparks away from solvent-based products and ventilate the work area properly. Do not allow sealer or wash water to enter a stormwater drain. Let brushes and rollers dry before disposal, and check local waste guidance for any contaminated materials.
Give the sealer the full curing period stated by the manufacturer before placing furniture, rugs or heavy planters on it. Foot traffic may be acceptable sooner, but trapped moisture beneath outdoor furniture can delay curing or leave marks. Use protective pads under tables and chairs so they do not scratch the surface or hold water against the bricks.
For an Aussie weekend DIY, the sensible routine is to sort out weeds as soon as they appear in a joint and top up any gaps with matching sand. There is little value in spending a weekend sealing the patio only to let the joint sand wash away again. Sweep with a stiff broom, avoid harsh cleaners and keep irrigation spray directed at planting rather than across the paving.
Inspect the joints after the first substantial rain and again at the start of the warm, wet season. Resealing frequency depends on exposure, product and brick porosity, but many water-based penetrating sealers need refreshing after several years. If colour is fading, water is absorbing quickly or the finish looks uneven, clean the surface before applying another coat. If harsh afternoon sun makes the patio uncomfortable, correct awning angle adjustments can improve shade without changing the paving.
A successful seal should support the space rather than dominate it. Choose outdoor furniture with breathable finishes, add planters that complement the paver colour and place a washable rug where foot traffic is heaviest. Keep cooking equipment and timber surfaces on stable mats so the new finish is protected from heat, moisture and abrasion.
A sealed patio also provides a dependable base for meals, relaxation and outdoor entertaining. For a larger setup, this outdoor dining layout shows how practical work zones, seating and shade can share the same area. Keep enough open brick around furniture and appliances for ventilation, sweeping and future maintenance.
Pick a dry weekend, set out the tools and complete the cleaning, joint repair and sealing before the next warm, wet spell arrives.
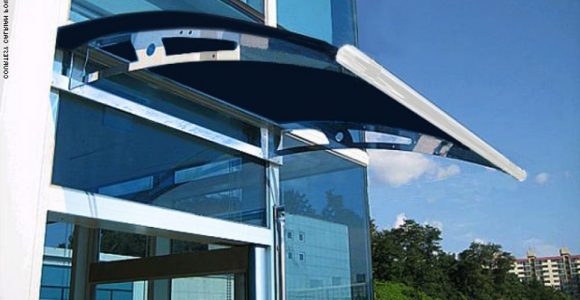


Awning definition, What is an awning? An awning is a cover made from canvas to sanctuary individuals or things from rain or sunlight, usually one will certainly use words awning about a roof-l...
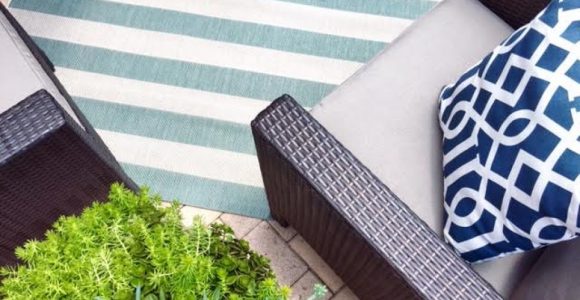




Frontgate outdoor rugs. These days embellishing does not have to be regarding custom-made, it could be regarding where to discover it currently and also exactly how to make it function for you. T...




Retractable awning prices is influenced in various other means, too. On-line assemblers bill delivery costs, however this is more than balanced out by the reality they don't charge sales tax (bes...




bed bath and beyond outdoor rugs (additionally called location rugs) not just include to the appearance of a space, yet likewise develop a setting including form, shade, and structure. Residence ...