Nuloom Outdoor Rugs
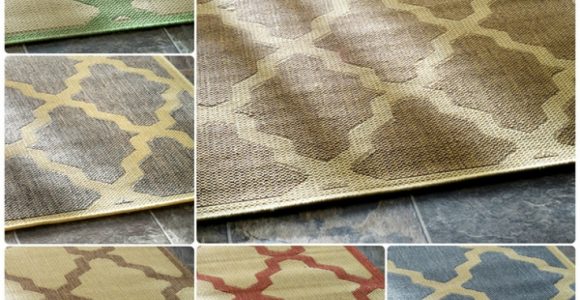


Nuloom Outdoor Rugs with pictures released for to offer the concepts to influence enhancing your home. This post of Nuloom Outdoor Rugs have of our collection pictures as well as gallery for embe...
Nuloom Outdoor Rugs with pictures released for to offer the concepts to influence enhancing your home. This post of Nuloom Outdoor Rugs have of our collection pictures as well as gallery for embe...
A fire pit table can turn an ordinary patio into a comfortable gathering place, combining the warmth of an outdoor flame with a useful surface for drinks, snacks and décor. A gas burner insert gives you fast ignition, adjustable heat and a cleaner look than a traditional wood fire, making it well suited to modern Australian entertaining areas.
The project involves more than placing a burner inside a timber box. The table must provide safe clearance around the flame, resist outdoor weather, allow ventilation and accommodate the correct gas components. The burner, pan, control system and fuel supply need to work together as a certified outdoor appliance.
A carefully planned design will suit the scale of your courtyard or deck while complementing paving, outdoor rugs, awnings and seating. Before buying materials, check local council requirements, strata rules and fire restrictions in your area. Conditions in suburban Sydney, Melbourne and Brisbane can differ significantly from those in regional or bushfire-prone locations.
Begin by deciding how the fire pit table will function. A low coffee-table design works well with lounge seating, while a higher dining-height model can sit between outdoor chairs. Leave enough tabletop around the burner for everyday use, but avoid making the flame box so narrow that heat builds up against the surrounding material.
The table should be stable, weather-resistant and easy to service. Concrete, masonry, steel and non-combustible fibre-cement board are suitable choices for the main structure. Timber can provide an attractive finish, but it should be separated from the hot burner enclosure with an approved barrier and must never form the immediate firebox around the flame.
Plan access to the gas control, ignition system and drain points. A removable side panel or lift-off burner tray makes maintenance considerably easier. If the table will be positioned beneath a pergola or awning, check the appliance manufacturer’s clearance requirements before finalising the height.
Measure the burner insert, pan and control compartment before cutting any panels. The opening should match the manufacturer’s specified dimensions rather than being improvised from the visible diameter of the burner. The pan usually needs a level, supported ledge, while the control valve must remain reachable without placing your hand over the flame area.
For a portable LPG setup, allow space for the cylinder outside the heated enclosure, preferably in a ventilated, protected location. LPG is heavier than air, so it must not collect inside a sealed cabinet or low cavity. A fixed natural-gas connection requires a licensed gasfitter and may involve different pipework, regulators and certification.
Australian outdoor gas work is governed by strict installation requirements, including relevant provisions of AS/NZS 5601.1 and appliance instructions. A homeowner may construct the non-gas table, but gas connections, testing and commissioning should be completed by a licensed professional. Ask for documentation showing that the burner is approved for outdoor use in Australia.
Outdoor furniture near the coast needs a different material strategy from furniture in a dry inland suburb. Salt air around Perth, Adelaide or coastal Queensland can accelerate corrosion, so choose marine-grade stainless steel or a suitably protected metal finish for exposed fasteners and burner components. In bushfire-prone districts, non-combustible construction and ember protection deserve particular attention.
Use a level, heat-resistant base beneath the appliance. Pavers, concrete slabs and porcelain outdoor tiles can provide a durable foundation, although some tiles may crack under uneven heat or impact. Avoid placing the unit directly on synthetic grass, soft decking or an outdoor rug unless the manufacturer specifically permits that arrangement.
A masonry or concrete-look finish can connect the table with existing landscaping, while powder-coated steel creates a lighter contemporary appearance. For design inspiration covering patios and outdoor living areas, French Creative ideas can help you coordinate the fire feature with surrounding furniture, paving and planting.
| Component | Suitable approach | Important consideration |
|---|---|---|
| Table frame | Concrete, masonry, steel or fibre-cement board | Keep combustible materials away from the burner zone |
| Burner pan | Certified stainless-steel gas insert | Match opening, fuel type and media to manufacturer instructions |
| Gas supply | Approved LPG cylinder or fixed natural-gas line | Use a licensed gasfitter for connection and testing |
| Fire media | Approved lava rock or fire glass | Never use ordinary glass, river stones or damp materials |
| Work surface | Porcelain, stone, concrete or protected metal | Allow drainage and protect against thermal shock |
| Control access | External valve panel or approved remote system | Keep controls reachable and protected from rain |
| Base | Concrete slab or stable pavers | Maintain level support and required clearances |
Construct the base on a firm, level surface and check it in several directions before the adhesive or mortar sets. A slight tilt can cause the burner pan to sit unevenly, producing an unattractive flame and potentially affecting drainage. If the table is on a tiled patio, protect the finished surface with suitable pads or a non-combustible plinth.
Create the burner cavity according to the insert’s instructions. The cavity should support the pan without pinching the gas line or obstructing air movement. Do not seal the compartment completely. Gas appliances need the ventilation specified by the manufacturer, and openings must remain clear of leaves, mulch, spiders and stored objects.
When using a framed construction, line the hot zone with a tested non-combustible board or appliance-rated enclosure system. Ordinary cement sheet alone may not provide the required protection in every design. Keep timber trim, cushions and decorative objects outside the stated clearance area, even when the flame appears small.
Have the licensed gasfitter install the burner, hose, regulator, valve and ignition components. They should pressure-test the system, check for leaks, confirm flame performance and verify that the installation complies with Australian requirements. Never test a suspected gas leak with a naked flame; shut off the supply and arrange professional inspection.
Once the appliance has been commissioned, complete the surrounding surface with a material that tolerates outdoor moisture and occasional heat. Large-format porcelain, engineered stone rated for exterior use, sealed concrete and suitable natural stone can all work well when installed correctly. Follow the stone supplier’s advice because some sealers and adhesives are unsuitable near heat.
Leave a generous, uncluttered border around the burner. This gives guests somewhere to place a glass or plate without bringing objects too close to the flame. A fitted metal lid is useful when the fire pit is switched off, but it should only be used once the burner and media are completely cool.
Fire glass and lava rock are popular finishes, yet they must be approved for the selected gas insert. Decorative stones collected from a beach or creek may contain moisture that expands when heated. Ordinary glass can shatter, while some stones can release minerals or damage the burner ports.
For a softer outdoor room, pair the table with weatherproof lounge seating and a washable outdoor rug positioned well outside the heat zone. Keep cushions, throws, paper lanterns and umbrellas clear of the flame. A well-planned arrangement should make circulation easy, especially when the table is used during a busy barbecue or evening gathering.
Before lighting the fire pit, inspect the hose, regulator, burner openings and control area. Remove leaves and debris, check that the gas supply is secure and make sure the flame media has stayed dry. If ignition is delayed, turn the appliance off, wait for accumulated gas to disperse as directed by the manufacturer, and follow the relighting procedure.
Never leave the flame unattended, particularly when children or pets are nearby. A wind guard can improve flame stability, but it does not make the appliance safe in strong winds. Turn the fire off before guests leave, and allow every component to cool fully before fitting a cover or storing the table.
Australian fire danger ratings and local restrictions must guide how and when you use the appliance. During Total Fire Bans or other emergency restrictions, outdoor gas appliances may be limited or prohibited depending on the location and appliance type. Check your state fire service, such as the CFA in Victoria, NSW RFS or Queensland Fire and Emergency Services, before lighting it during hot, dry weather.
Clean the burner according to the manufacturer’s instructions and arrange periodic inspection if the unit is frequently used. Watch for rust, cracked media, damaged hoses, blocked vents or an altered flame colour. Prompt repairs protect the appliance and help keep the table a reliable feature through changing seasons.
A gas fire pit table can become a durable centrepiece for an Australian patio when its structure, fuel system and surroundings are designed together. Sketch the layout, choose certified components, use non-combustible materials around the heat zone and involve a licensed gasfitter for every gas connection. Once installed and approved, the finished table will provide a practical focal point for relaxed evenings, outdoor meals and year-round entertaining.
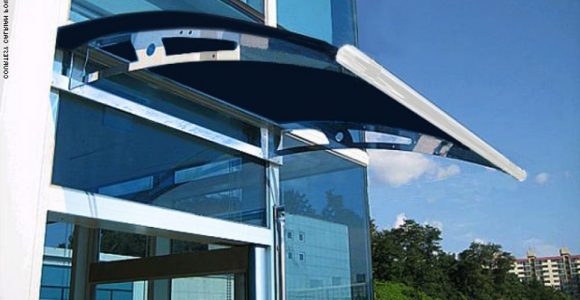
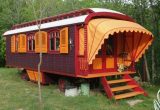
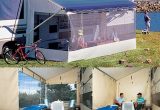
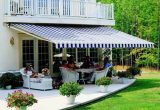
Awning definition, What is an awning? An awning is a cover made from canvas to sanctuary individuals or things from rain or sunlight, usually one will certainly use words awning about a roof-l...
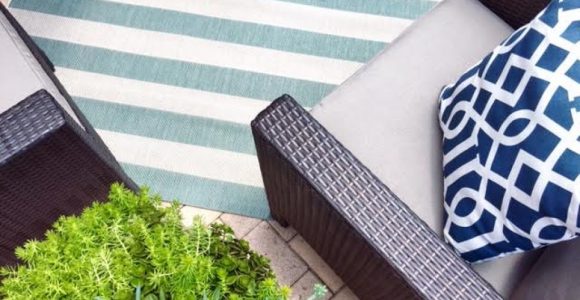


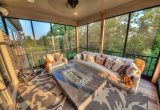
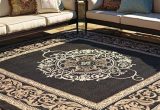
Frontgate outdoor rugs. These days embellishing does not have to be regarding custom-made, it could be regarding where to discover it currently and also exactly how to make it function for you. T...

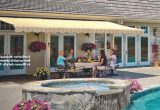
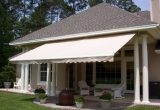


Retractable awning prices is influenced in various other means, too. On-line assemblers bill delivery costs, however this is more than balanced out by the reality they don't charge sales tax (bes...

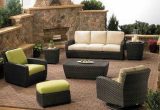
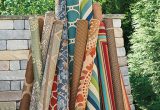
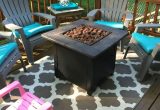
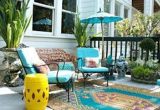
bed bath and beyond outdoor rugs (additionally called location rugs) not just include to the appearance of a space, yet likewise develop a setting including form, shade, and structure. Residence ...