Building a brick barbecue pit with a grilling grate
A masonry barbecue becomes a permanent feature of an Australian home, giving the backyard a dependable cooking zone and the patio a natural gathering point. A brick barbecue pit with a grilling grate offers more design flexibility than a portable cart, while the surrounding paving, seating and planting determine whether it feels integrated or simply installed.
Start with the food and the people, rather than the dimensions of a drawing. Will the grate hold pans for a family roast, sausages across the edge, or vegetables in a separate zone? Is the pit for charcoal, gas, or a timber-fired arrangement that needs different clearances? Planning these decisions first prevents expensive changes once the firebricks are laid.
Across Sydney, Melbourne, Brisbane, Perth and Adelaide, backyards range from compact courtyards to generous suburban lots, so the safest layout depends on shade, wind, access and local council requirements. Record the finished floor level, measure the proposed opening and photograph existing services before ordering materials. Any gas appliance or fixed electrical work should be handled by a licensed tradesperson.
Choosing a practical barbecue layout
Choose the barbecue position before choosing the brick colour. Leave enough room for the cook to open the grate without stepping into the heat, and keep seating and circulation outside the door-swing and serving areas. A useful starting point is a masonry body around 1.2 to 1.5 metres wide, with the exact size driven by the grate and the number of guests.
In a small urban courtyard, a compact pit can share a paved wall with storage and a bench, but crowded edges make it awkward to move fuel and serving trays. In a suburban garden, a larger grate can create distinct direct and indirect heat zones. An adjustable rack or lower charcoal tray gives greater control than a single fixed shelf.
Think about prevailing winds as well as the view. A barbecue that sends smoke toward a dining table will disappoint, while one shielded from breezes can be difficult to control. Check the path of smoke at different times of day and preserve access to bins, garden taps and drying racks. A slight change in orientation may be better than adding an expensive chimney.
Selecting bricks and a heat-resistant cooking grate
Standard Australian clay bricks, commonly 230 by 110 by 75 millimetres, suit the outer shell and give the project a familiar, locally sourced character. The firebox needs a separate lining of rated firebricks or refractory bricks. Ordinary paving bricks can crack or spall under repeated heat, so confirm the temperature rating with the supplier instead of choosing by colour alone.
Firebrick is sold by specialist suppliers and some larger building merchants, while Bunnings and Mitre 10 are convenient starting points for landscaping and masonry supplies. Ask for a firing-temperature rating, usable face dimensions and current stock. Budgeting for a custom grate benefits from the same discipline as any large purchase: compare payment methods, ask about deposits and confirm delivery terms, using payment method comparisons as one reference point.
The grilling grate determines the usable cooking surface. Australian fabricators commonly use stainless steel rod or a cast-iron grid, with stainless favoured for low maintenance and coastal exposure. Grade 316 stainless is sensible near the coast, while inland kitchens still need a corrosion-resistant finish. For a rod grate, 6 to 8 millimetre steel is a common starting specification, but the fabricator should confirm the span and spacing against the firebox.
Specify the grate’s outer dimensions, usable cooking-area dimensions, handle projection and support ledges before the brickwork sets its opening. A removable grate is easier to clean, while a hinged one improves access to the charcoal bed. Confirm whether the frame will sit on masonry bearings or a dedicated steel frame, and ask the fabricator how it will accommodate thermal movement.
Managing fire, airflow and charcoal
A charcoal fire needs air from below and a path for smoke to escape. Build a raised charcoal bed over an ash-catching area, and provide adjustable openings rather than sealing the base. These gaps feed oxygen to the coals; a sealed tray can extinguish the fire or encourage smoke to travel around the pit instead of through it.
Position the cooking grate above the fuel at the height recommended for the grate material and the intended food. Too close and the bars can overheat; too far away and the grill loses responsiveness. A hinged grate makes adding charcoal or repositioning the fuel easier, while a removable firebox section simplifies cleaning. Test the mechanism before the surrounding masonry is finished.
Keep the barbecue outdoors, away from an enclosed garage, porch or room where carbon monoxide could collect. Follow the appliance and firebrick instructions for clearance from fences, timber screens, roofed structures and combustible storage. Maintain a suitable fire extinguisher and a bucket of dry sand for the charcoal fire, and allow the coals to cool completely before putting ash into a metal container with a tight lid.
Planning the masonry build
Plan a stable base that suits the soil rather than automatically pouring a large concrete slab. A level compacted base, drainage and the weight of the masonry need to work together, and a slab may bridge damp ground or settle unevenly on reactive clay. Obtain engineering advice for a tall design, an overhead beam or uncertain ground conditions.
Dry-lay the first course, mark cuts and check diagonals before mixing mortar. Use clean masonry sand and the mortar product specified for the work, keep joints consistent, and brush loose material from the face as you progress. A stainless drip edge over the cooking chamber helps shed water, while ventilation gaps prevent trapped moisture from staining or deteriorating the brickwork.
Organise tools and materials to keep the site safe. If you stage supplies in the garage, check the automatic door controls before the work begins; garage remote programming can help you manage access while the space is in temporary use. Store timber, bags and fuel away from the barbecue area, and cover unfinished masonry if overnight rain is forecast.
Integrating the barbecue into the garden
Set the barbecue within a coherent outdoor room. Concrete or fired-clay paving can provide a firm, cleanable landing, but the joints and drainage should prevent water pooling around the base. Gravel can soften the transition to a garden, provided it sits on a stable, permeable base. Neither surface should allow timber decking, plastic grass or stored objects to sit against the hot masonry.
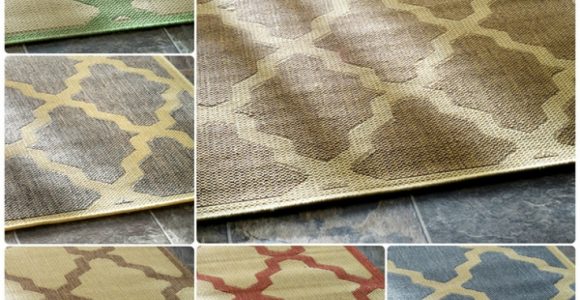
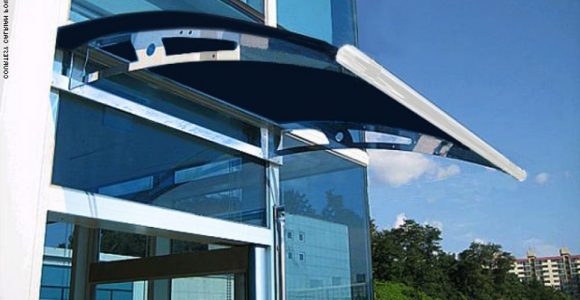
Summer sun, coastal salt and occasional heavy rain shape the details. UV-resistant synthetic outdoor rugs can define a lounge zone, but they belong well away from flames. An awning can make the area usable through the middle of the day, although its fabric and supports need suitable fire clearances. When you register with an online garden supplier, review the promotional notification options before opting in, so useful stock alerts do not become an inbox nuisance.
Screen the barbecue with a fence, masonry wall or carefully positioned planting without blocking ventilation. Check local council rules for structures, hoods and gas installations, and consider smoke near neighbouring windows. In warmer cities, a canopy or mature shade tree can improve comfort; in Melbourne, drainage and winter-resistant finishes deserve equal attention.
A reliable build checklist
Use this checklist before the first brick is laid. It protects the main decisions that are difficult and expensive to change once the barbecue is operating.
- Confirm the cooking zones, grate dimensions and fuel type on paper.
- Choose a rated firebrick liner and a corrosion-resistant grilling grate.
- Provide adjustable airflow, a charcoal bed and an ash-catching route.
- Check every clearance from timber, fences, roofs and combustible storage.
- Level the base, plan drainage and confirm the finished floor height.
- Order the grate, handles, support hardware and drainage components before masonry work.
Test the grate and ventilation with a small fire, then check stability, heat zones and the distance from seating. Careful preparation creates a barbecue that feels like part of the landscape rather than a bulky object in it, with practical surfaces and comfortable spacing around the cooking area.
Ready to build your barbecue pit? Start with a tape measure, a confirmed grate supplier and a clear site plan, then create a durable outdoor cooking space for long Australian summers and relaxed weekends. Explore French Creative for more ideas to bring the patio, paving and planting together around your new barbecue.